Showing posts with label DIY Project. Show all posts

Thursday, April 23, 2015

FAIRY GARDEN DIY

Hello you guys! Today I'm sharing a fun DIY that you and your kids are sure to enjoy. It makes a perfect; Spring, Summer, weekend DIY for the entire family. 
 Little Renity and I put this project together during her spring break about 3 weeks ago. We gathered items from thrift shops, nature, and antique stores. Creating our Fairy Garden was so much fun for both Renity and I . This is what and how we did it...
Items Used
  • Thrifted ceramic platter thingy purchased at GW for $1.99.
  • Small $1 wooden cabin with wooden sticks from the thrift shop.
  • Thrifted and repurposed leaf candle tray used as a frog pond, $.45 . Sunflower decorations also thrifted for $.75.
  • Shadow box figurines purchased at an antique store.
  • Free dirt from our garden bed.
  • Free moss found near our front yard tree.
  • Free large stone found in our front yard.
  • Free small stones gathered from our garden bed.
  • 2 Free twigs found on the ground.
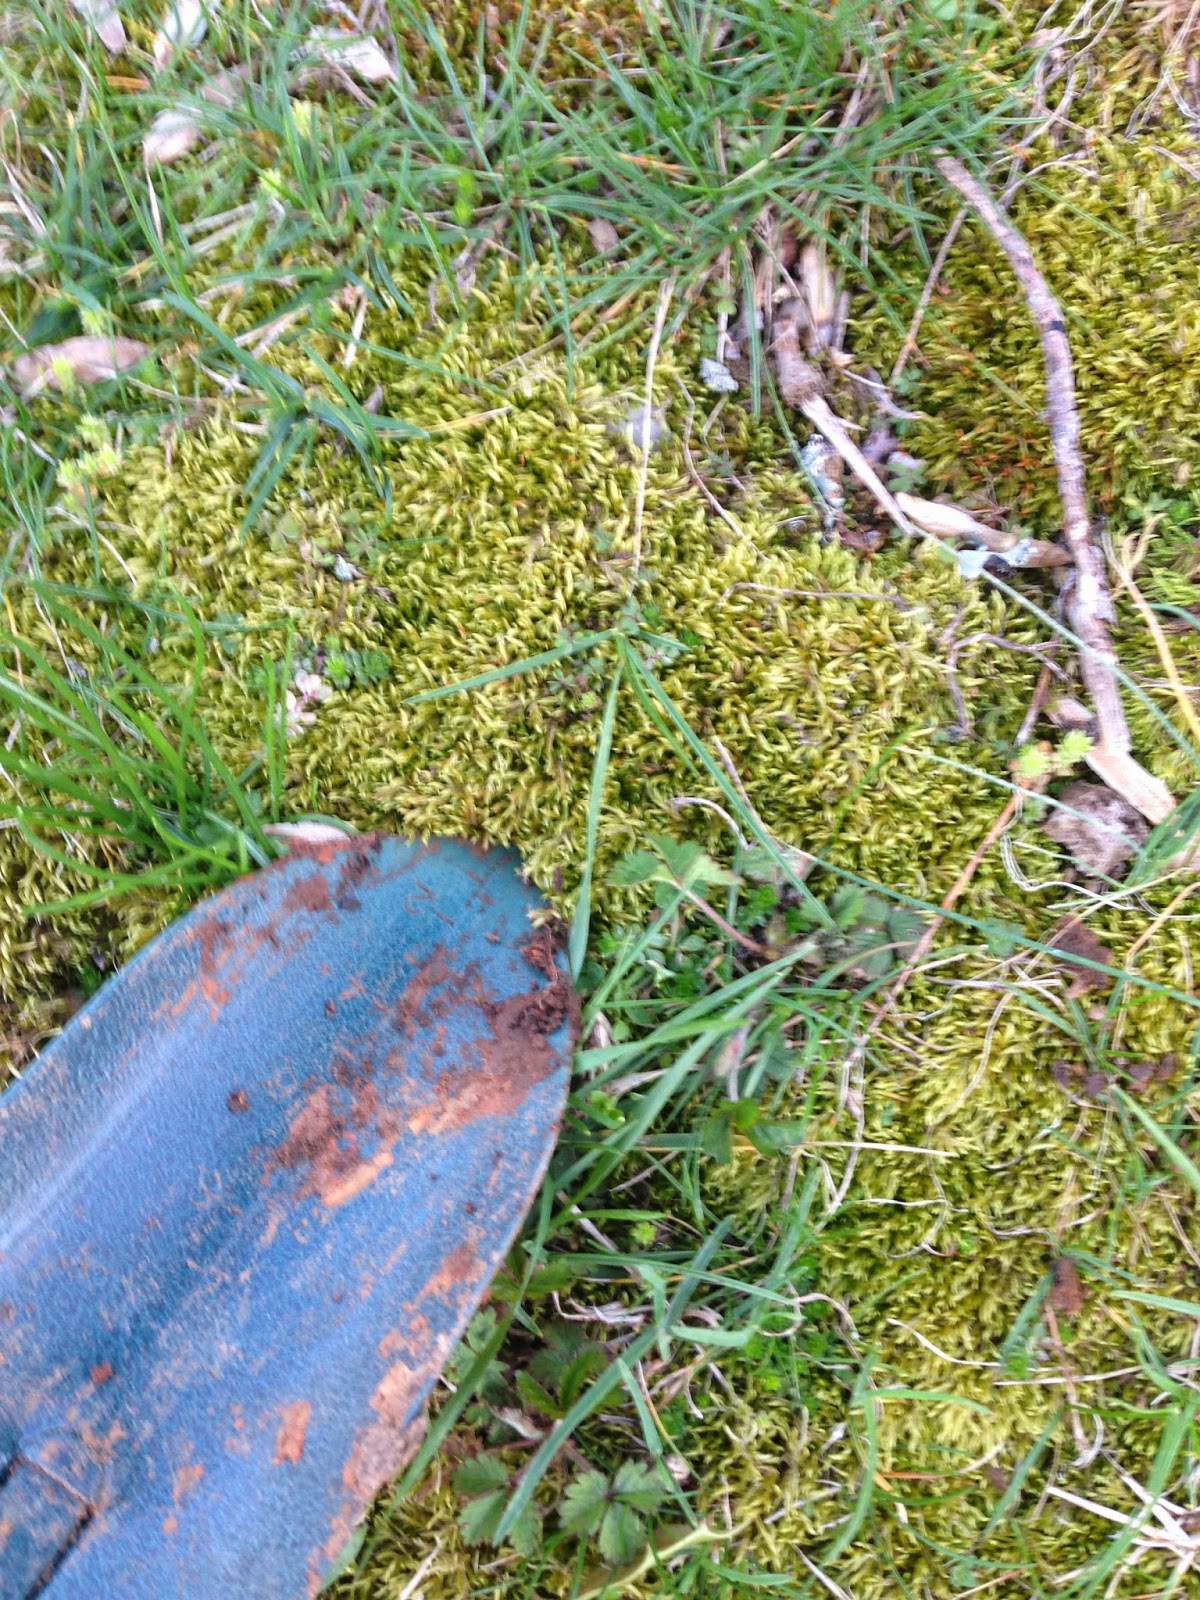
 First as you can see, Renity filled the platter with dirt, making it our base. Second; we placed a large stone on top of the base to create a hill for the cabin to stand on. Then we completely covered the dirt and rock with moss. 
Serenity had so much fun with this part of the fairy garden project. She did most of it on her own, and did such a great job!
After the landscaping came the decorating. This was my favorite part of course! We used the little  wooden sticks that came with the cabin to create a stairway. Then we lined it up with small stones along the sides. We also used the small stones to cover up any areas that were left uncovered. The leaf candle tray was creatively repurposed as a frog pond, which I think is adorable. Also we thought it would be nice to use twigs as trees. So we stuck them on the side of the house and hung a little red lantern on it. The rest sorta came to us as we went along. We worked with what we had and put all of our creativity to good use.
Making this project was such a great bonding experience for Serenity and I. She loved the thought of coming up with ideas and bringing them to life using dirt, rocks and lots of pretty stuff. Also the fantasy behind building a fairy garden was so mind blowing and exciting for her. Now she goes out and enjoys it everyday!
Have a good one yall..
XO, Nancy

Saturday, April 4, 2015

EASTER & SPRING WREATH

Lately I've been really loving all the natural grapevine wreath and garland trends around pinterest and craft stores. I think they give off that cool rustic farmhouse kind of look. Also, must I say they are incredibly easy to decorate according to seasons. For example I created this adorable Spring/ Easter wreath for our front door in about 10 minutes using artificial flowers, berries and butterflies from Dollar Tree.  
I bought one bouquet of pink cherry blossoms, two bouquets of each pink and purple glitter berries and also two sets of  yellow glitter butterflies which I thought were darling. I used a pair of wire cutters to cut the bouquets apart into single flowers. Then I just kind of intertwined each flower within the looped grapevine. 
THRIFTED HANDMADE BUNNIES: BOUGHT IN A GALLON SIZE ZIP LOCK BAG FOR $1 
One of the things I adore about this wreath is it's versatility. It can be an Easter wreath one day, and a gorgeous Spring wreath another. Without any effort at all! All I did was tie one of the little bunnies I picked up at the thrift shop and BAMM there goes the Easter wreath! 
Too, when Easter passes I plan on keeping my little wreath until summertime!  
Thank you guys for stopping by!! 
Xo, Nancy

Tuesday, March 31, 2015

HOMEMADE SPRING TABLE RUNNER

Hey yall!! As we all know Spring is finally here! I don't know about you guys, but I'm very excited. Flowers are blooming, the sun is shining and colors are brighter! 
It's also that time of the year when many of us are changing stuff around, doing a little spring cleaning and decorating. You know... getting the spring spirit in our homes. After all it's been a heck of a long winter and we're all ready for some nicer weather. 
Today I'm pleased to share this floral homemade spring themed table runner that I created for my home. If you ask me, a beautiful table setting is always the easiest way to welcome any season and this little DIY says Welcome Spring all over it!    
Supplies:
  • Felt in various colors
  • hot glue gun
  • scissors
  • needle
  • thread
  • green embroidery floss
  • "23 x 13" piece of fabric
  • embroidery hoop

Optional:

  • Sewing Machine ( or you can also hand sew)
First I finished the raw edges of the fabric using the zigzag stitch on my sewing machine, just to keep the fabric from unraveling. Then I folded the edge of  my fabric into 1/2" and 1/2" hem (this is easier if you iron the hem down before you sew). I used my sewing machine to sew along the folded hem(this can also be done by hand).
     After I sewed my hem down and made it all around the fabric, I started making my felt flowers in various colors and sizes.  
There's so many beautiful styles of felt flowers you can make. I stuck with two simple ways. The first one is the daisy looking one. I just cut a strip of felt, folded it and cut little slits along the folded edge. Then using a small piece of scrap felt, I made a little ball for the middle of the flower. I glued the little ball to the very tip of the flower strip. Then I rolled the strip up creating a pretty little flower. 
The second style is what I call the portulaca. First I cut up a bunch of felt squares and then cut them into petals. After I had several cut petals, I then hand sewed them together using a needle and thread. 
I attached eight flowers on each end of the runner using a needle and thread. Once I attached all the flowers I hand embroidered leaves on my little runner using a needle and green embroidery floss.  
And that's It my friends!! I must admit I absolutely LOVEEE how my spring table runner turned out. It's by far not perfect, but it gots tons of personality and most important it just screams out SPRING every time you look at it.   
Also how incredibly cute is this little blue thrifted creamer filled with wildflowers that I picked from the woods!!!! I just love getting creative with my thrift finds, it's soooo much fun...
Have a good one you guys!

XO,Nancy!! 


Friday, March 13, 2015

ST. PATRICKS DAY DECORATIONS DIY'S

Planning a St. Paddy's day party, and still looking for last minute ideas? I created four easy DIY St. Patrick's Day themed decorations for my home & maybe yours too!! This is what I made: Green burlap "LUCKY" banner, table centerpice, door wreath, and potted clover plant.      
Banner
Lets begin with the banner. For this project I reused two table runners that I picked up at the thrift shop for $1.50. I attached the two using white ribbon to create a burlap garland, decided not to do something permanent since I wanted to be able to use them in the future as runners. 
Next is the "LUCKY" part of the banner. 
For this you will need.
  • green scrapbook paper
  • scissors 
  • letter stencil
  • X-acto craft knife
  • White Cardstock paper
  • pencil
  • hole puncher
  • twine or ribbon
  • glue stick

1. fold your paper in half. 2. Fold in half again you will have four even squares. 3. Fold the corner with the folded edges up into a triangle as seen above. 4. cut half a heart shape on the edge of the folded parts, make sure to leave the corner attached(I marked with pencil where you should cut). To watch the video that taught me how to make this click here .
I traced the letters on white cardstock with a pencil and cut them out using an X-acto craft knife. Then I glued them on the four leaf clovers. After the glue dried, I punched two holes at the top of each clover and then strung twine through them.  
Centerpiece
Supplies needed:
  1. Green paper four leaf clovers
  2. wooden skewers or toothpicks
  3. tape
  4. vase
  5. bottle caps 

Since I had already made a bunch of these paper clovers this DIY was a very easy one to do. I just taped a wooden skewer in the middle of two clovers and stuck it in a flower vase filled with bottle caps. If you don't have skewers, toothpicks work perfect as well. Just punch it in the middle of the clover & it should stay.
Wreath
Supplies:
  1. Dollar Tree Green foam wreath
  2. (4) Dollar Tree St. Patrick's day faux flowers
  3. wire cutters

The wreath was my favorite project because it literally took about 10 minutes and it turned out so darn cute!! First I took the faux flowers apart using wire cutters. Next I inserted them into the foam in a clover and flower pattern. I repeated the pattern all around until the wreath was filled and completed.
Potted Clover Plant
Supplies:
  1. Free little clovers from mother nature or store bought
  2. potting soil
  3. small pot  

 I've mentioned before that I'm totally obsessed with bringing nature in my home and I so happened to find little clovers growing in my backyard!! So I went pulled them out and potted them in a vintage ultramarine depression glass bowl.   
Have fun with this you guys!! 
I know I did..and have a wonderful St. Paddy's day weekend!!!
XO, Nancy