Showing posts with label recycling and reusing. Show all posts

Thursday, April 23, 2015

FAIRY GARDEN DIY

Hello you guys! Today I'm sharing a fun DIY that you and your kids are sure to enjoy. It makes a perfect; Spring, Summer, weekend DIY for the entire family. 
 Little Renity and I put this project together during her spring break about 3 weeks ago. We gathered items from thrift shops, nature, and antique stores. Creating our Fairy Garden was so much fun for both Renity and I . This is what and how we did it...
Items Used
  • Thrifted ceramic platter thingy purchased at GW for $1.99.
  • Small $1 wooden cabin with wooden sticks from the thrift shop.
  • Thrifted and repurposed leaf candle tray used as a frog pond, $.45 . Sunflower decorations also thrifted for $.75.
  • Shadow box figurines purchased at an antique store.
  • Free dirt from our garden bed.
  • Free moss found near our front yard tree.
  • Free large stone found in our front yard.
  • Free small stones gathered from our garden bed.
  • 2 Free twigs found on the ground.
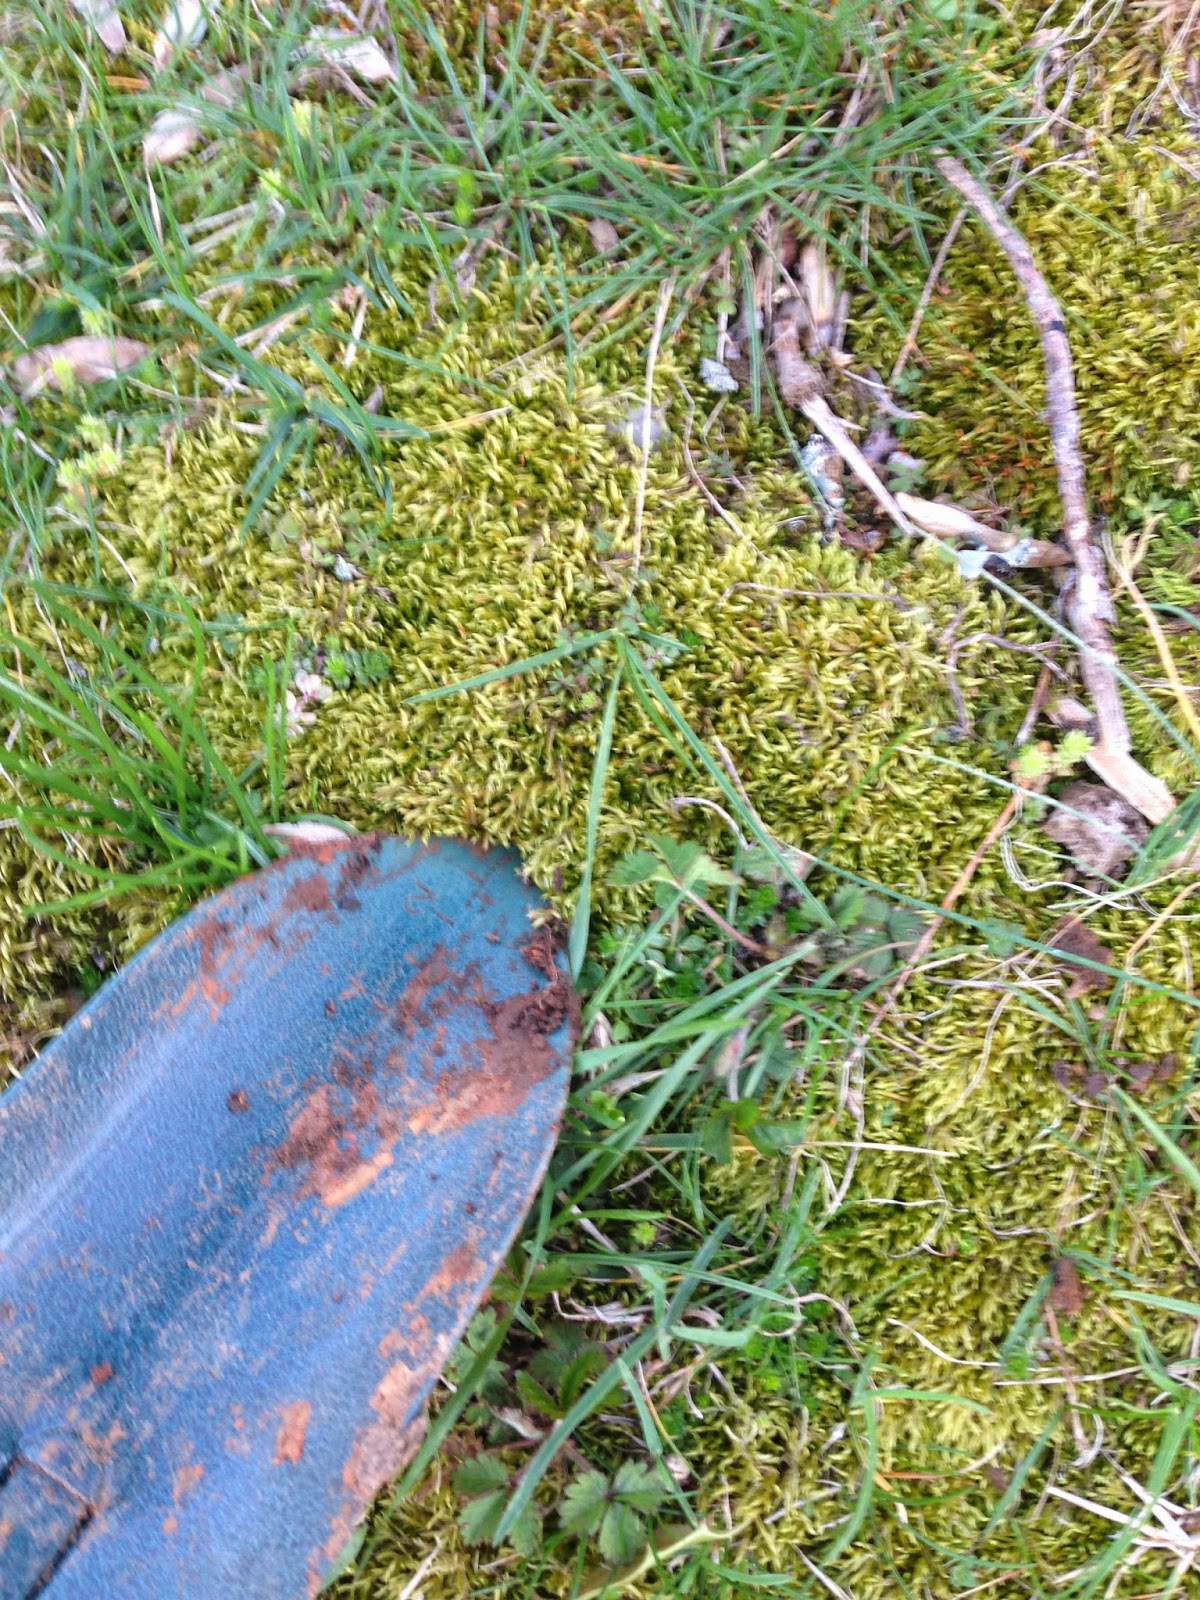
 First as you can see, Renity filled the platter with dirt, making it our base. Second; we placed a large stone on top of the base to create a hill for the cabin to stand on. Then we completely covered the dirt and rock with moss. 
Serenity had so much fun with this part of the fairy garden project. She did most of it on her own, and did such a great job!
After the landscaping came the decorating. This was my favorite part of course! We used the little  wooden sticks that came with the cabin to create a stairway. Then we lined it up with small stones along the sides. We also used the small stones to cover up any areas that were left uncovered. The leaf candle tray was creatively repurposed as a frog pond, which I think is adorable. Also we thought it would be nice to use twigs as trees. So we stuck them on the side of the house and hung a little red lantern on it. The rest sorta came to us as we went along. We worked with what we had and put all of our creativity to good use.
Making this project was such a great bonding experience for Serenity and I. She loved the thought of coming up with ideas and bringing them to life using dirt, rocks and lots of pretty stuff. Also the fantasy behind building a fairy garden was so mind blowing and exciting for her. Now she goes out and enjoys it everyday!
Have a good one yall..
XO, Nancy

Wednesday, July 16, 2014

SUMMER BANGLES DIY

As I was digging for unwanted things to sell in my upcoming yard sale this weekend. I came across several pieces of jewelry that don't get much attention anymore. Inspired to upcycle a few, I decided to give them a colorful makeover. Using a set of three old bangles, ebroidery floss and a pair of necklaces with lots of pretty linked beads & charms I created these super cute summer inspired bangles. 
WHAT YOU'LL NEED
  • Set of bangles 
  • Embroidery floss in several colors
  • Variety of charms and jump rings(or an old necklace you can take apart for its pretty charms like I did  ;] )
  • LOCTITE Super Glue with Gel Control or E600 glue 
  • pliers
  • scissors
  • toothpick 

1. Start by applying a small dot of glue on your bangle. Place the tip of the first embroidery floss on the area with the glue and apply pressure using a toothpick until its securely glued to the bangle. Start to wrap the embroidery floss around the bangle. 2. Continue wrapping the floss halfway around the bangle(wrapping gets a little tricky so just wrap a good amount and then gather it tightly with your fingers). 3. Once your halfway around the bangle stop and glue the end of the first color. Beginning at the end of the first color glue the tip of the second color of embroidery floss. Repeat step One. 4. After the second color is wrapped all around the other half of the bangle, glue the end of the embroidery floss where the two colors meet.     
Repeat steps 1 through 4 with the remaining bangles. When you are through wrapping the bangles use a pair of pliers to attach pretty charms.


Have fun with this you guys!! 

XO, Nancy!

Tuesday, February 25, 2014

DIY STAINED GLASS BOTTLES

Ever wondered what to do with all those useless/ pretty shaped liquor bottles? I mean seriously, some of them are too cute to throw away. Lately I've been hoarding every single glass bottle and jar instead of dumping them in the trash bin. Just because the small city of Clarksville does not recycle glass and I feel horrible throwing it away. 

One way to repurpose glass bottles is by simply adding a splash of color. Today I'm going to show you how I transformed ordinary liquor bottles into awesome decorative pieces for my home. Supplies needed; glass bottles, alcohol ink, pieces of felt, foam brushes and Valspar Frosting Spay.      
 Painting with alcohol ink is so much fun , but can be extremely messy since it is very runny and will drip everywhere. My advice is to lay newspaper down and set a designated work area. Please be prepared for colorful fingers! First I poured a few drops of alcohol ink onto a piece of felt and began staining my glass bottle. After I did a first layer of color using the felt I dipped my foam brush into the ink and added a second layer. As I used the foam brush I pressed gently allowing the ink to run down the bottle. The ink will somewhat spread out evenly. I continued dipping and pressing the foam brush until my entire bottle was covered all around.  
Once all three of my bottles were stained I allowed them to dry for a couple of hours. 
When my stained bottles were completely dry I added a coat of Valspar Frosting Spray. Giving my bottles a gorgeous frosted finish. Then, I placed my bottles aside and allowed them to dry for about an hour.

Something as simple as stained glass bottles will add a huge pop of color into any room. The best thing about this DIY is that you can customize it however you want. You can ditch the solid colors and create a marbled effect by adding all sorts of colors. It can be used as a flower vase, candle holder, center piece, decorative bottles. Whatever the use, this effortless DIY is sure to brighten up your home. Also, the fact that you get to repurpose some of those useless bottles into something wonderful is a SCORE. Have fun creating! 

XO, Nancy!


Thursday, August 22, 2013

Recycled Fun!

    I have been collecting paper towel and toilet paper tubes for the past two weeks, rambling over what I could possibly create. Suddenly Pintrest inspiration kicks in!! Why not create a super fun recycled/ bidazzled fairy tale castle for little Serenity? Well yes indeed we did! Yesterday Little Renity and I spent all after noon creating what she thought was the most amazing thing she had ever made. 

First we made a trip to the commissary and asked the nice employees for the biggest piece of cardboard they had. Once our big cardboard mission was accomplished we used it as our base for the castle. Little Renity and I painted away like true artist! I have to say it was so much fun!


Once our base and our hands were completely covered with paint we let the base dry for about an hour.


While the base dried we moved on to the castle towers and walls.  We decided we were going to have a hot pink girly castle! This part was a bit of a challenge. Lets just say Renity was in need of a bath after this! 
  
After everything was dry we hot glued the cardboard towers and walls to the base of the castle. Then for some character we glued flags made out of toothpicks and scraps of cloth to the top of our towers. Transforming it into our fairy tale masterpiece! Pretty cool huh? Not only was this an awesome craft for kids it was also a chance for little Renity to create something she will enjoy for hours without braking the bank!