Showing posts with label Fashion. Show all posts

Monday, January 26, 2015

MY STYLE: CASUAL WINTER OUTFIT

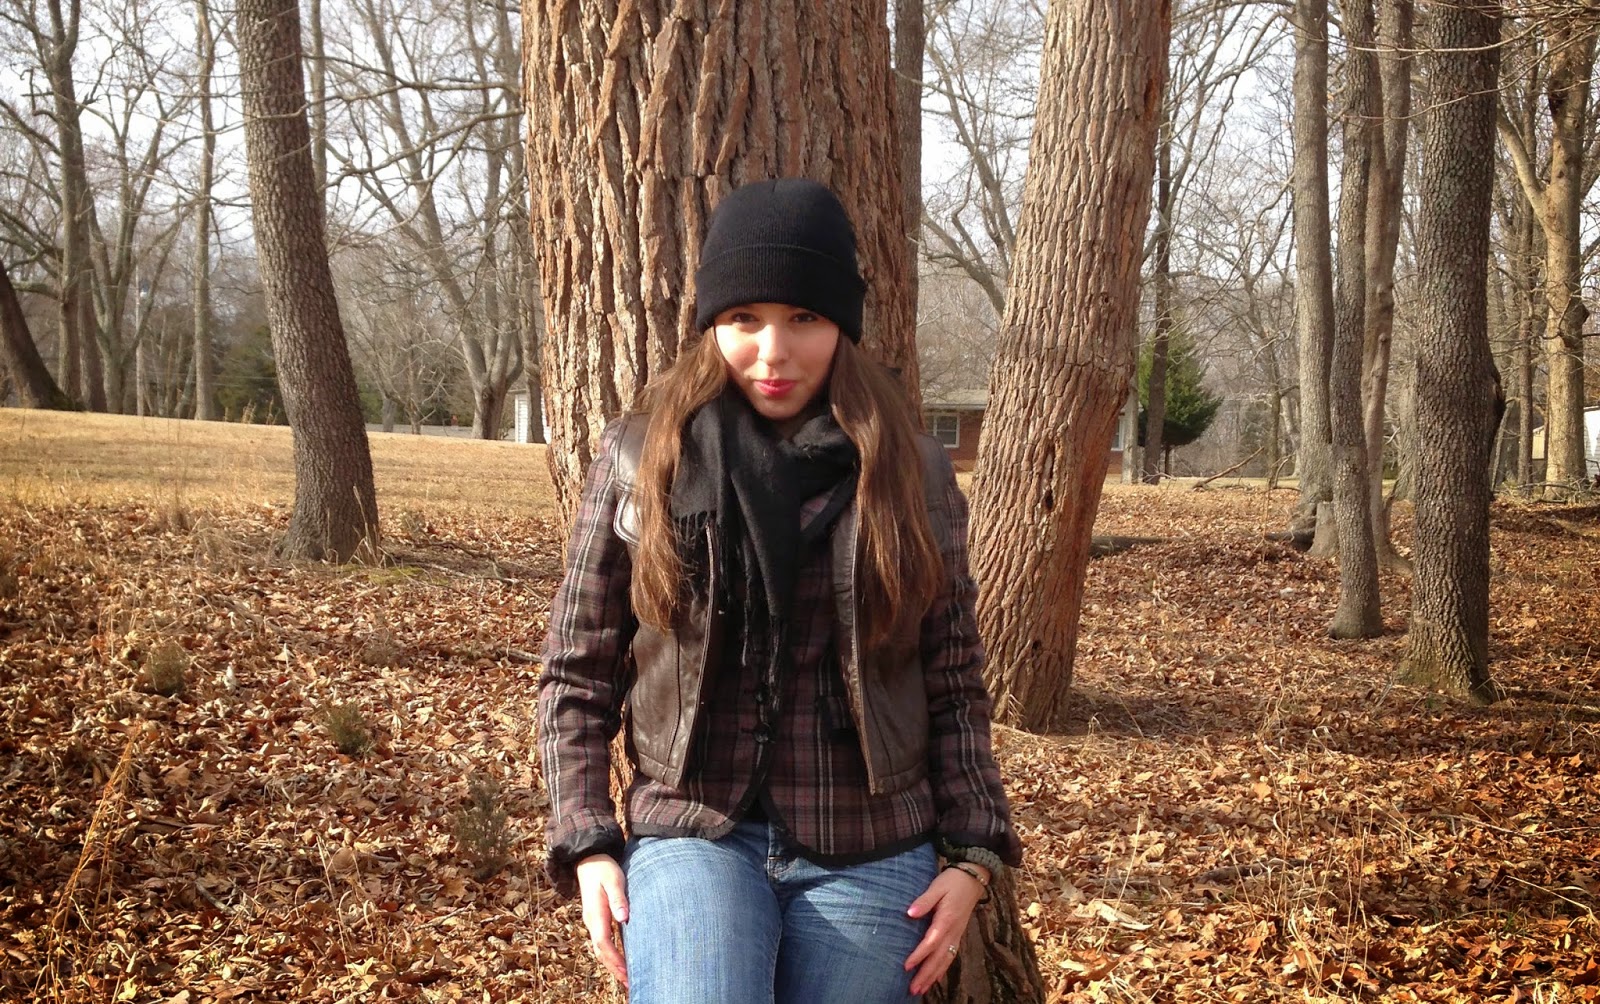
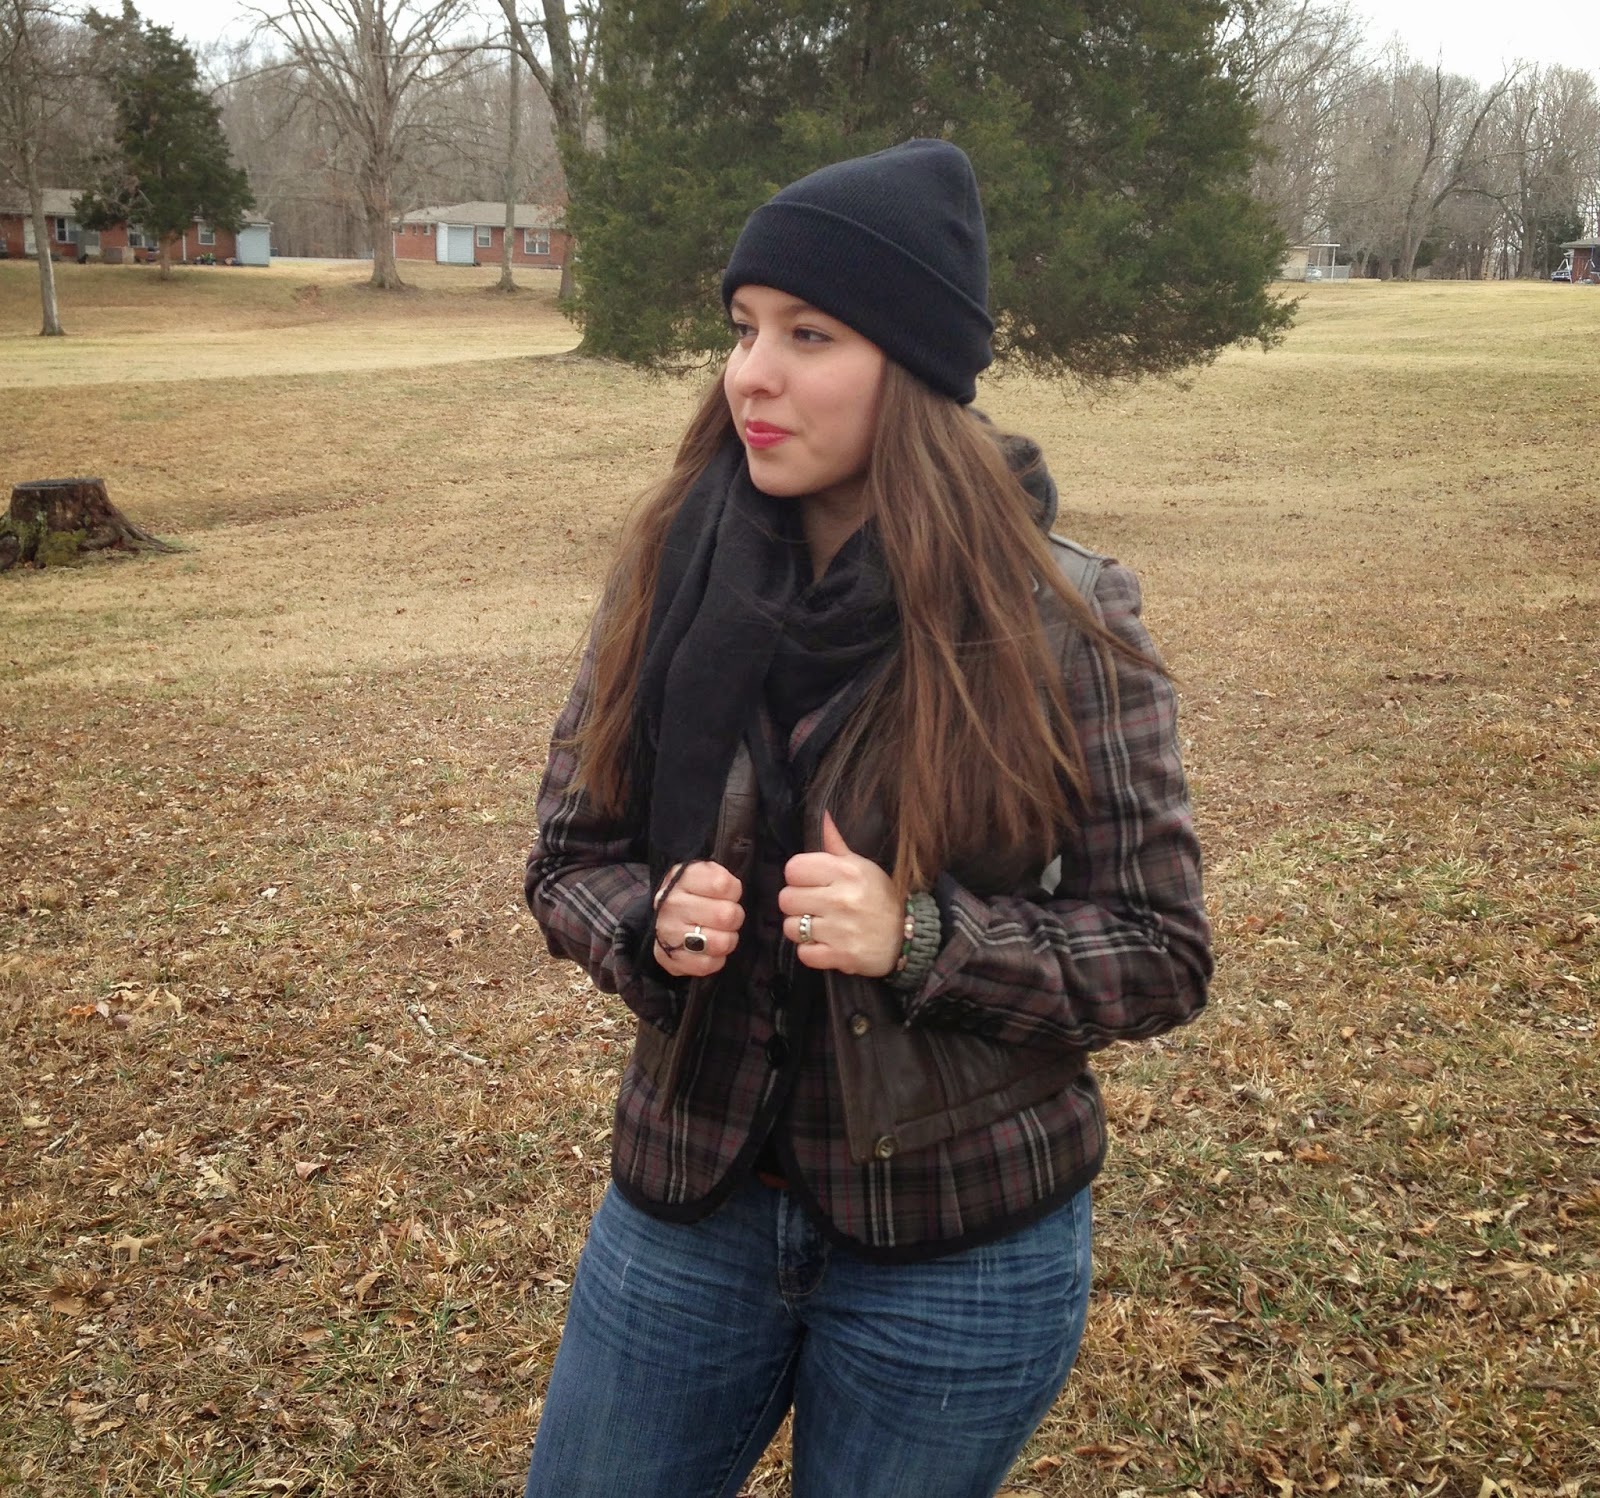
 Today's outfit was a very casual look for a very casual Monday. I decided it would be fun to layer up a sort of boyish plaid blazer with a really cute lambskin vest. Creating a great on the go ensemble perfect for a winter day. 
Both pieces were thrifted. The plaid blazer was about $2.00 and the lambskin vest was an amazing deal for only $3.50!! 

What do you like to wear on a winter Monday?

XO, NANCY!!

Friday, September 5, 2014

REFASHIONED CLOSET: 3 OUT OF 1

Good Morning friends! Excited to say that I finally had time to alter some clothing items that have been pending for quite a while. This thrifted Striped and Mustard dress from Forever 21 was one that I just had to share before the summer is over.  
Before
 The way it was wasn't so bad to begin with, but I had a different vision for it. When I purchased the dress I really liked the striped top and Yellow Mustard bottom combo. Since I'm not a minimalist i decided to split the dress in two creating a crop top and skirt for more outfit combinations.

1. Using a seam ripper I detached the top and the bottom, splitting the dress in two. 2. I folded and pinned down the top of the bottom piece which is now my skirt right at 1''. 3. I stitched right down the fold/pinned area of the waistband with the front side facing in, leaving a opening at the end to string in the 1'' wide elastic through. 4. Once the elastic was inside the waistband I sewed the elastic together and stitched the waistband close. Creating the "Mustard skirt"!! 5. The dress originally came with a wide black elastic waistband in the middle that attached the two pieces together. I left the wide elastic on the bottom of the striped top as it was. Creating what is now the "Striped Crop Top"


 Combo #1

Combo #2

Combo #3
I just love how these two pieces turned out!! It completely blows my mind how versatile my $3 dress turned out to be. Are you a fan of refashioning thrift store finds?

XO, Nancy!!

Thursday, August 7, 2014

BASIC GLASS BEAD JEWELRY TUTORIAL

Hey guys! I know I haven't been writing much here lately, so let me fill you in. Things have been a little crazy around here since our little Renity will be starting preschool this month. Which means time has been fairly scarce, and it almost seems as if everyone in this house moves about a hundred miles per second a day. Literally! 

Today I'm sharing a very easy jewelry making tutorial. This is a very basic way to get started on your jewelry making journey. I promise once you get going you wont want to stop!


 Supplies: Small glass beads, beading wire, toggle clasp starter set, needle nose pliers. 
Very simple and basic supplies.
 First begin by cutting your wire. I cut my necklace wire at 19'' and for bracelets I cut my wire at 7''. 
Next place the crimping bead on one of the end of your wire.
Now place the clasp on the wire.
 Loop in the very tip of the wire inside of the crimping bead. Then use the needle nose pliers to squeeze the crimping bead( like shown above). Flatten the bead until your clasp is permanently secured. 
 Start beading in the glass beads to your desire. You can bead in the whole necklace or like me only do the front. 
Once you decide to stop beading,  repeat the previous four steps to attach the toggle on the other end of the wire. TADA!! Your done!
 Can you tell how obsessed I am with jewelry making? Here are a few items I've made using this simple method. 


 Making my own jewelry has to be on my top 5 favorite hobbies, its so addicting! Have fun with this you guys!
XO,Nancy!!

Wednesday, July 23, 2014

GIRLY GRAPHICS AND PATTERNS: LITTLE MISS SERENITYS LOOK

 When it comes to dressing my child I enjoy getting creative. I believe that children should be allowed to wear fun colors and loud patterns. Today we put together a bold combination of a cheerful graphic tank and some very elaborate patterns. Personally mixing graphics and patterns can sometimes be a little scary. But when it comes to my daughter it always turns out super cute. We paired these cool bicycle patterned crop pants with a bright yellow and grey graphic tank, adding an extra kick with a busy Hello Kitty polka-dot umbrella. To make it all come together we incorporated subtle hints of pink with her shoes and belt.        

 Outfit Details

  • Carters Yellow sun graphic tank
  • Oshkosh B'gosh Bicycle Twill crop pants 
  • Hello Kitty polkadotted umbrella
  • Pink high top converse
  • Pink belt from Gymboree

Hair 

  • straight bob with bangs
  • side braid


When it comes to style little Serenity and I have a language of our own. Like her momma she loves bright colors and great detail. She is four years old and has a passion for clothes, shoes and accessories like no other preschooler I know.

XO, Nancy!! 

Thursday, July 17, 2014

FLORALS: THRIFTED BLOUSE COMBO

Lately I've been noticing a lot of floral prints throughout Pinterest and retail stores. Encouraging me to share one of my favorite thrift store picks from my closet. How cute is this floral sheer blouse picked from a thrift shop in San Antonio. I mean it's got it all! It's funky, sexy and has great detail besides the print itself. 
 Here is a flirty ensemble I put together using my floral thrifted blouse. This outfit is ideal for summer days out in the city!
                                                            OUTFIT DETAILS
  • Thrifted floral blouse from San Antonio
  • Denim mini skirt from Lux for Urban Outfitters
  • Tan pumps from GAP
  • Vintage Jade Green Beaded necklace
  • Leonard Nez Navajo turquoise earrings
  • Homemade Faux Snake Foldover clutch by ME ;)
  • Statement bangle from Forever21
                                                   How do you wear florals? Happy Thursday yall!!
                                                                         
                                                                 XO, Nancy!!

Wednesday, July 16, 2014

SUMMER BANGLES DIY

As I was digging for unwanted things to sell in my upcoming yard sale this weekend. I came across several pieces of jewelry that don't get much attention anymore. Inspired to upcycle a few, I decided to give them a colorful makeover. Using a set of three old bangles, ebroidery floss and a pair of necklaces with lots of pretty linked beads & charms I created these super cute summer inspired bangles. 
WHAT YOU'LL NEED
  • Set of bangles 
  • Embroidery floss in several colors
  • Variety of charms and jump rings(or an old necklace you can take apart for its pretty charms like I did  ;] )
  • LOCTITE Super Glue with Gel Control or E600 glue 
  • pliers
  • scissors
  • toothpick 

1. Start by applying a small dot of glue on your bangle. Place the tip of the first embroidery floss on the area with the glue and apply pressure using a toothpick until its securely glued to the bangle. Start to wrap the embroidery floss around the bangle. 2. Continue wrapping the floss halfway around the bangle(wrapping gets a little tricky so just wrap a good amount and then gather it tightly with your fingers). 3. Once your halfway around the bangle stop and glue the end of the first color. Beginning at the end of the first color glue the tip of the second color of embroidery floss. Repeat step One. 4. After the second color is wrapped all around the other half of the bangle, glue the end of the embroidery floss where the two colors meet.     
Repeat steps 1 through 4 with the remaining bangles. When you are through wrapping the bangles use a pair of pliers to attach pretty charms.


Have fun with this you guys!! 

XO, Nancy!