Hello you guys! Today I'm sharing a fun DIY that you and your kids are sure to enjoy. It makes a perfect; Spring, Summer, weekend DIY for the entire family.
Little Renity and I put this project together during her spring break about 3 weeks ago. We gathered items from thrift shops, nature, and antique stores. Creating our Fairy Garden was so much fun for both Renity and I . This is what and how we did it...

.JPG)


Items Used
- Thrifted ceramic platter thingy purchased at GW for $1.99.
- Small $1 wooden cabin with wooden sticks from the thrift shop.
- Thrifted and repurposed leaf candle tray used as a frog pond, $.45 . Sunflower decorations also thrifted for $.75.
- Shadow box figurines purchased at an antique store.
- Free dirt from our garden bed.
- Free moss found near our front yard tree.
- Free large stone found in our front yard.
- Free small stones gathered from our garden bed.
- 2 Free twigs found on the ground.


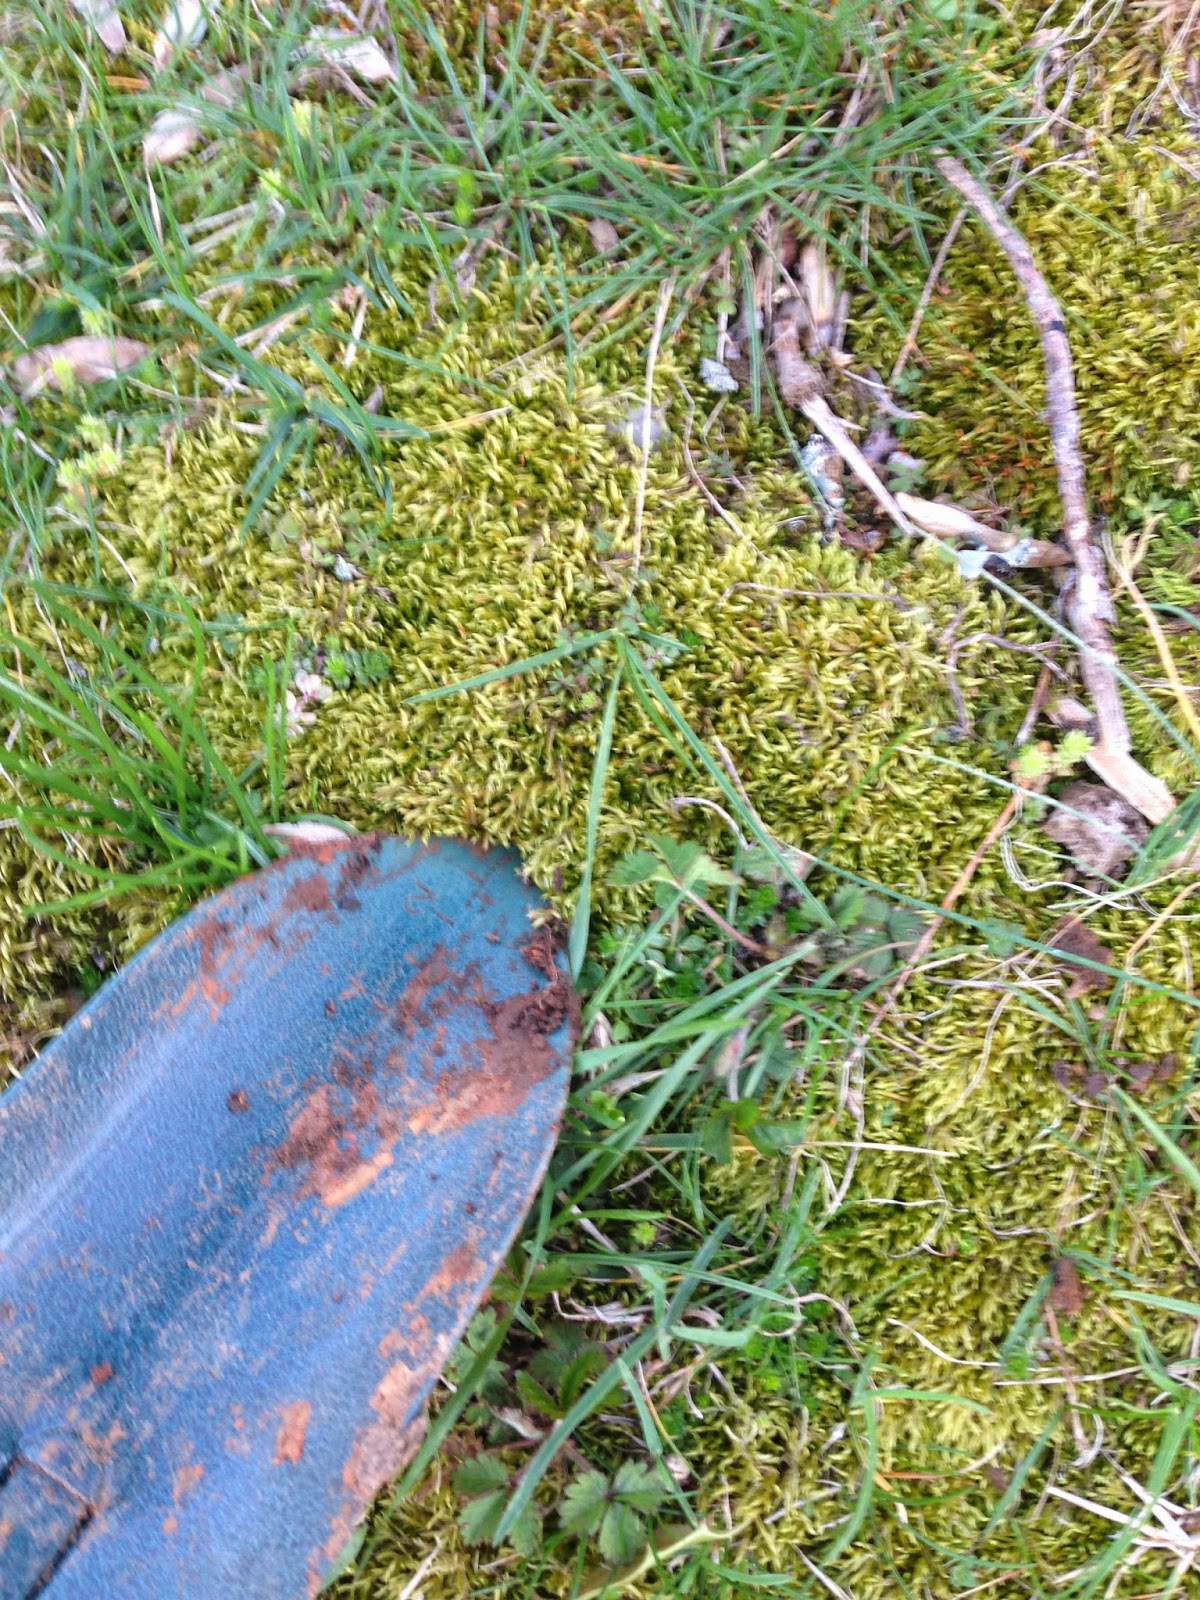


First as you can see, Renity filled the platter with dirt, making it our base. Second; we placed a large stone on top of the base to create a hill for the cabin to stand on. Then we completely covered the dirt and rock with moss.
Serenity had so much fun with this part of the fairy garden project. She did most of it on her own, and did such a great job!

After the landscaping came the decorating. This was my favorite part of course! We used the little wooden sticks that came with the cabin to create a stairway. Then we lined it up with small stones along the sides. We also used the small stones to cover up any areas that were left uncovered. The leaf candle tray was creatively repurposed as a frog pond, which I think is adorable. Also we thought it would be nice to use twigs as trees. So we stuck them on the side of the house and hung a little red lantern on it. The rest sorta came to us as we went along. We worked with what we had and put all of our creativity to good use.


Making this project was such a great bonding experience for Serenity and I. She loved the thought of coming up with ideas and bringing them to life using dirt, rocks and lots of pretty stuff. Also the fantasy behind building a fairy garden was so mind blowing and exciting for her. Now she goes out and enjoys it everyday!
Have a good one yall..
XO, Nancy
Have a good one yall..
XO, Nancy


.JPG)
