Showing posts with label entertain. Show all posts

Thursday, April 9, 2015

EASTER 2015

Hope Everyone had a wonderful Easter weekend filled with joy and lots of love. Our Easter was wonderful, we hosted a small gathering with great friends and their lovely families along with a surprise visit of the Easter bunny. 
We were blessed with an amazing meal and lots of fun for the little ones and not so little ones. Here is a small recap of our Easter Sunday. 

Have a good one yall!! Thank you for stopping by. 
XO,Nancy!!!!

Saturday, April 4, 2015

EASTER & SPRING WREATH

Lately I've been really loving all the natural grapevine wreath and garland trends around pinterest and craft stores. I think they give off that cool rustic farmhouse kind of look. Also, must I say they are incredibly easy to decorate according to seasons. For example I created this adorable Spring/ Easter wreath for our front door in about 10 minutes using artificial flowers, berries and butterflies from Dollar Tree.  
I bought one bouquet of pink cherry blossoms, two bouquets of each pink and purple glitter berries and also two sets of  yellow glitter butterflies which I thought were darling. I used a pair of wire cutters to cut the bouquets apart into single flowers. Then I just kind of intertwined each flower within the looped grapevine. 
THRIFTED HANDMADE BUNNIES: BOUGHT IN A GALLON SIZE ZIP LOCK BAG FOR $1 
One of the things I adore about this wreath is it's versatility. It can be an Easter wreath one day, and a gorgeous Spring wreath another. Without any effort at all! All I did was tie one of the little bunnies I picked up at the thrift shop and BAMM there goes the Easter wreath! 
Too, when Easter passes I plan on keeping my little wreath until summertime!  
Thank you guys for stopping by!! 
Xo, Nancy

Friday, March 13, 2015

ST. PATRICKS DAY DECORATIONS DIY'S

Planning a St. Paddy's day party, and still looking for last minute ideas? I created four easy DIY St. Patrick's Day themed decorations for my home & maybe yours too!! This is what I made: Green burlap "LUCKY" banner, table centerpice, door wreath, and potted clover plant.      
Banner
Lets begin with the banner. For this project I reused two table runners that I picked up at the thrift shop for $1.50. I attached the two using white ribbon to create a burlap garland, decided not to do something permanent since I wanted to be able to use them in the future as runners. 
Next is the "LUCKY" part of the banner. 
For this you will need.
  • green scrapbook paper
  • scissors 
  • letter stencil
  • X-acto craft knife
  • White Cardstock paper
  • pencil
  • hole puncher
  • twine or ribbon
  • glue stick

1. fold your paper in half. 2. Fold in half again you will have four even squares. 3. Fold the corner with the folded edges up into a triangle as seen above. 4. cut half a heart shape on the edge of the folded parts, make sure to leave the corner attached(I marked with pencil where you should cut). To watch the video that taught me how to make this click here .
I traced the letters on white cardstock with a pencil and cut them out using an X-acto craft knife. Then I glued them on the four leaf clovers. After the glue dried, I punched two holes at the top of each clover and then strung twine through them.  
Centerpiece
Supplies needed:
  1. Green paper four leaf clovers
  2. wooden skewers or toothpicks
  3. tape
  4. vase
  5. bottle caps 

Since I had already made a bunch of these paper clovers this DIY was a very easy one to do. I just taped a wooden skewer in the middle of two clovers and stuck it in a flower vase filled with bottle caps. If you don't have skewers, toothpicks work perfect as well. Just punch it in the middle of the clover & it should stay.
Wreath
Supplies:
  1. Dollar Tree Green foam wreath
  2. (4) Dollar Tree St. Patrick's day faux flowers
  3. wire cutters

The wreath was my favorite project because it literally took about 10 minutes and it turned out so darn cute!! First I took the faux flowers apart using wire cutters. Next I inserted them into the foam in a clover and flower pattern. I repeated the pattern all around until the wreath was filled and completed.
Potted Clover Plant
Supplies:
  1. Free little clovers from mother nature or store bought
  2. potting soil
  3. small pot  

 I've mentioned before that I'm totally obsessed with bringing nature in my home and I so happened to find little clovers growing in my backyard!! So I went pulled them out and potted them in a vintage ultramarine depression glass bowl.   
Have fun with this you guys!! 
I know I did..and have a wonderful St. Paddy's day weekend!!!
XO, Nancy

Monday, March 9, 2015

WINE TASTING PARTY

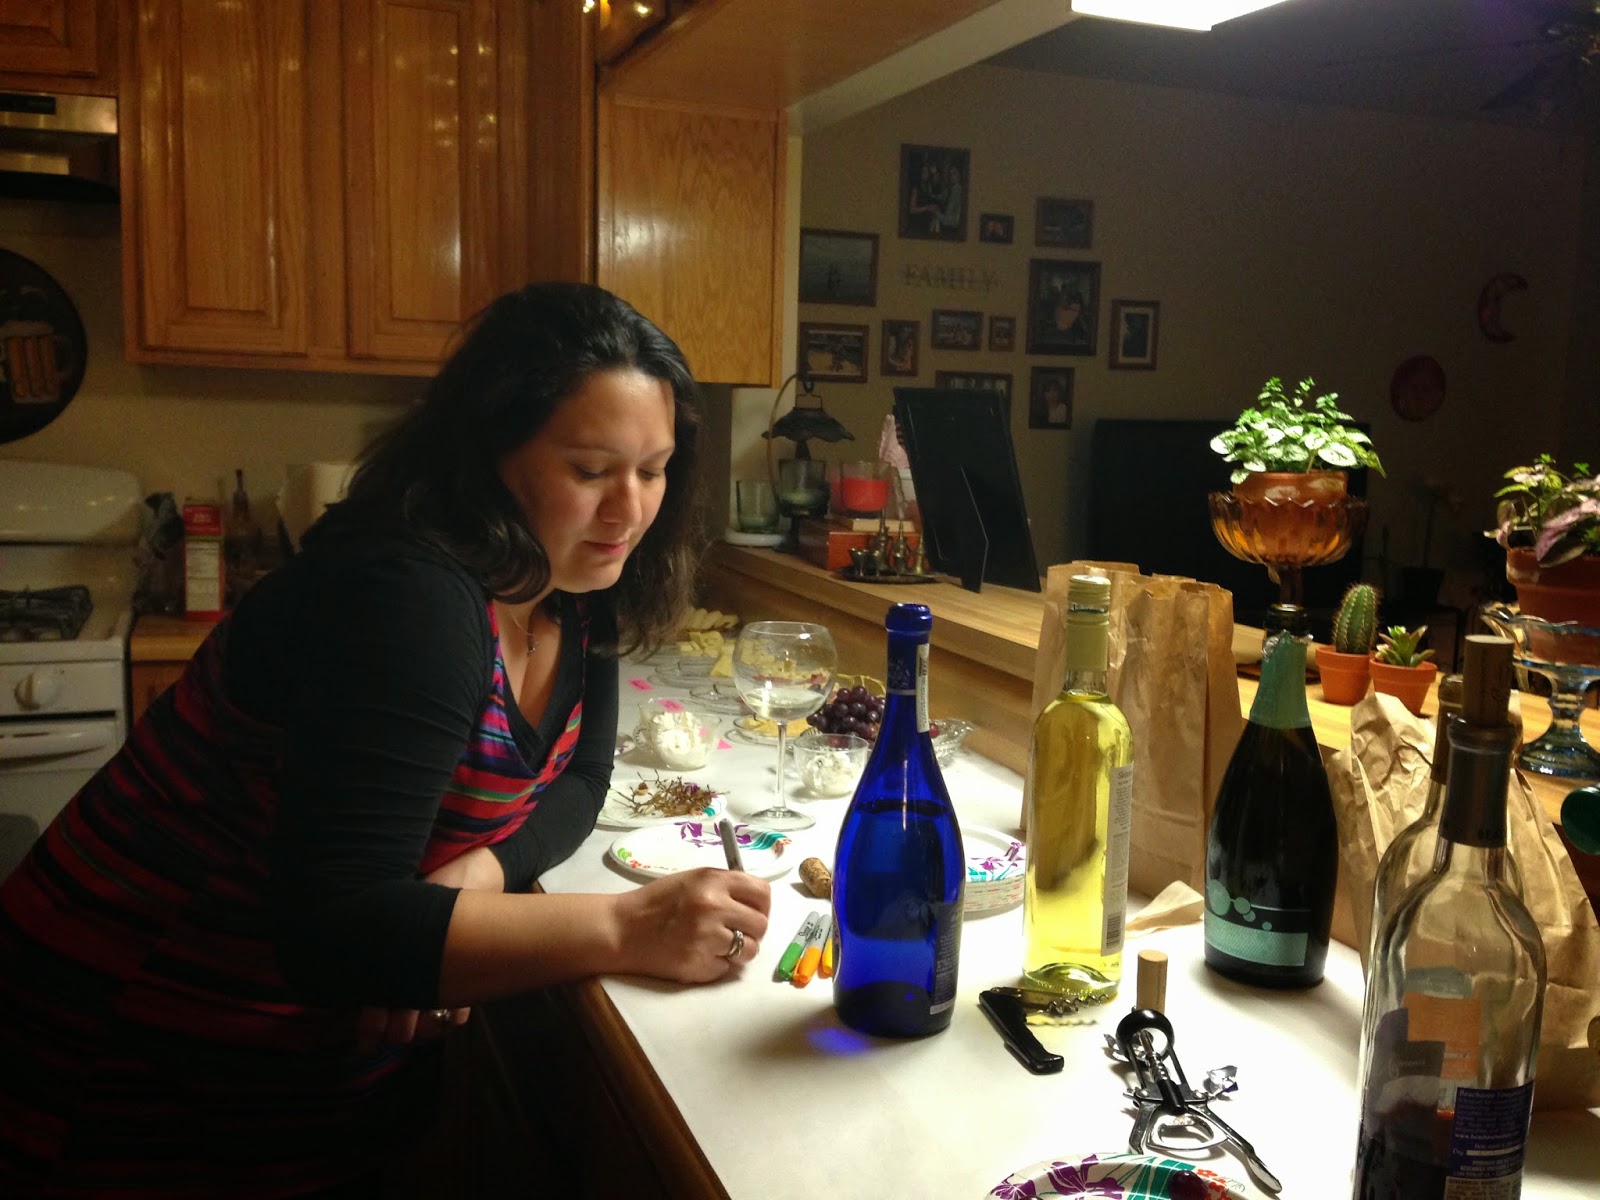
A couple weeks ago I hosted a wine tasting ladies/ goodbye party for a good friend of mine that has recently moved away due to our beloved Army. It was all very last minute, like literally planned the night before kind of thing!! And although there was no time for planning the night turned out to be amazing and definitely one to remember.  
 As invitations I created this simple yet adorable clipart picture using ABM app on my phone and sent them out via text message to each girly.
 I decorated and covered the wine bottles in brown paper bags and tied them with a little pink ribbon, you know just for cuteness!!
I covered my counter tops with freezer paper to give the refreshment bar a crisp, classy look. Not to mention It also turned out to be an awesome spill catcher and a forever memory for our friend Simone. 
The refreshment menu consisted of three different cheeses: Hot Pepper cheese, Parmentino cheese, and Fiesta pepper Jack. For the cheese labels I used a pink Post-it label roll which I absolutely love!
I also served Town house Parmesan Herb pretzel thins , cranberry scones, and of course red seedless grapes.
Chips and dip were courtesy of our bombass friend Erika. Her dip was amazing!! 
Since the party is always in the kitchen I strung lights across the ceiling as a mood setter. Can you tell they were Christmas lights?? Haha!
The night was so much fun, from the moment the girls arrived until the minute they left. We went from girl talk to dancing, trying new wines, laughing life away, singing and almost crying. 
While we were also saying goodbye to a good friend, I came up with a clever idea for a memento of the evening.
We each wrote our best wishes and goodbyes on the freezer paper. Creating a beautiful memory for Simone to have and take with her to Ft.Hood, using colorful sharpies. 
After smiles, spills, broken wine glasses and dancing to thriller and Bidi Bidi Bom Bom came the A.M. and each friend went their way. 
I had never thrown a wine tasting party or even a goodbye party until now and I have to say it was a great success for a first timer! My girls and I had a great time!!
Yall have a good one,
XO, NANCY!!!