Showing posts with label party planning. Show all posts

Friday, March 13, 2015

ST. PATRICKS DAY DECORATIONS DIY'S

Planning a St. Paddy's day party, and still looking for last minute ideas? I created four easy DIY St. Patrick's Day themed decorations for my home & maybe yours too!! This is what I made: Green burlap "LUCKY" banner, table centerpice, door wreath, and potted clover plant.      
Banner
Lets begin with the banner. For this project I reused two table runners that I picked up at the thrift shop for $1.50. I attached the two using white ribbon to create a burlap garland, decided not to do something permanent since I wanted to be able to use them in the future as runners. 
Next is the "LUCKY" part of the banner. 
For this you will need.
  • green scrapbook paper
  • scissors 
  • letter stencil
  • X-acto craft knife
  • White Cardstock paper
  • pencil
  • hole puncher
  • twine or ribbon
  • glue stick

1. fold your paper in half. 2. Fold in half again you will have four even squares. 3. Fold the corner with the folded edges up into a triangle as seen above. 4. cut half a heart shape on the edge of the folded parts, make sure to leave the corner attached(I marked with pencil where you should cut). To watch the video that taught me how to make this click here .
I traced the letters on white cardstock with a pencil and cut them out using an X-acto craft knife. Then I glued them on the four leaf clovers. After the glue dried, I punched two holes at the top of each clover and then strung twine through them.  
Centerpiece
Supplies needed:
  1. Green paper four leaf clovers
  2. wooden skewers or toothpicks
  3. tape
  4. vase
  5. bottle caps 

Since I had already made a bunch of these paper clovers this DIY was a very easy one to do. I just taped a wooden skewer in the middle of two clovers and stuck it in a flower vase filled with bottle caps. If you don't have skewers, toothpicks work perfect as well. Just punch it in the middle of the clover & it should stay.
Wreath
Supplies:
  1. Dollar Tree Green foam wreath
  2. (4) Dollar Tree St. Patrick's day faux flowers
  3. wire cutters

The wreath was my favorite project because it literally took about 10 minutes and it turned out so darn cute!! First I took the faux flowers apart using wire cutters. Next I inserted them into the foam in a clover and flower pattern. I repeated the pattern all around until the wreath was filled and completed.
Potted Clover Plant
Supplies:
  1. Free little clovers from mother nature or store bought
  2. potting soil
  3. small pot  

 I've mentioned before that I'm totally obsessed with bringing nature in my home and I so happened to find little clovers growing in my backyard!! So I went pulled them out and potted them in a vintage ultramarine depression glass bowl.   
Have fun with this you guys!! 
I know I did..and have a wonderful St. Paddy's day weekend!!!
XO, Nancy

Monday, March 9, 2015

WINE TASTING PARTY

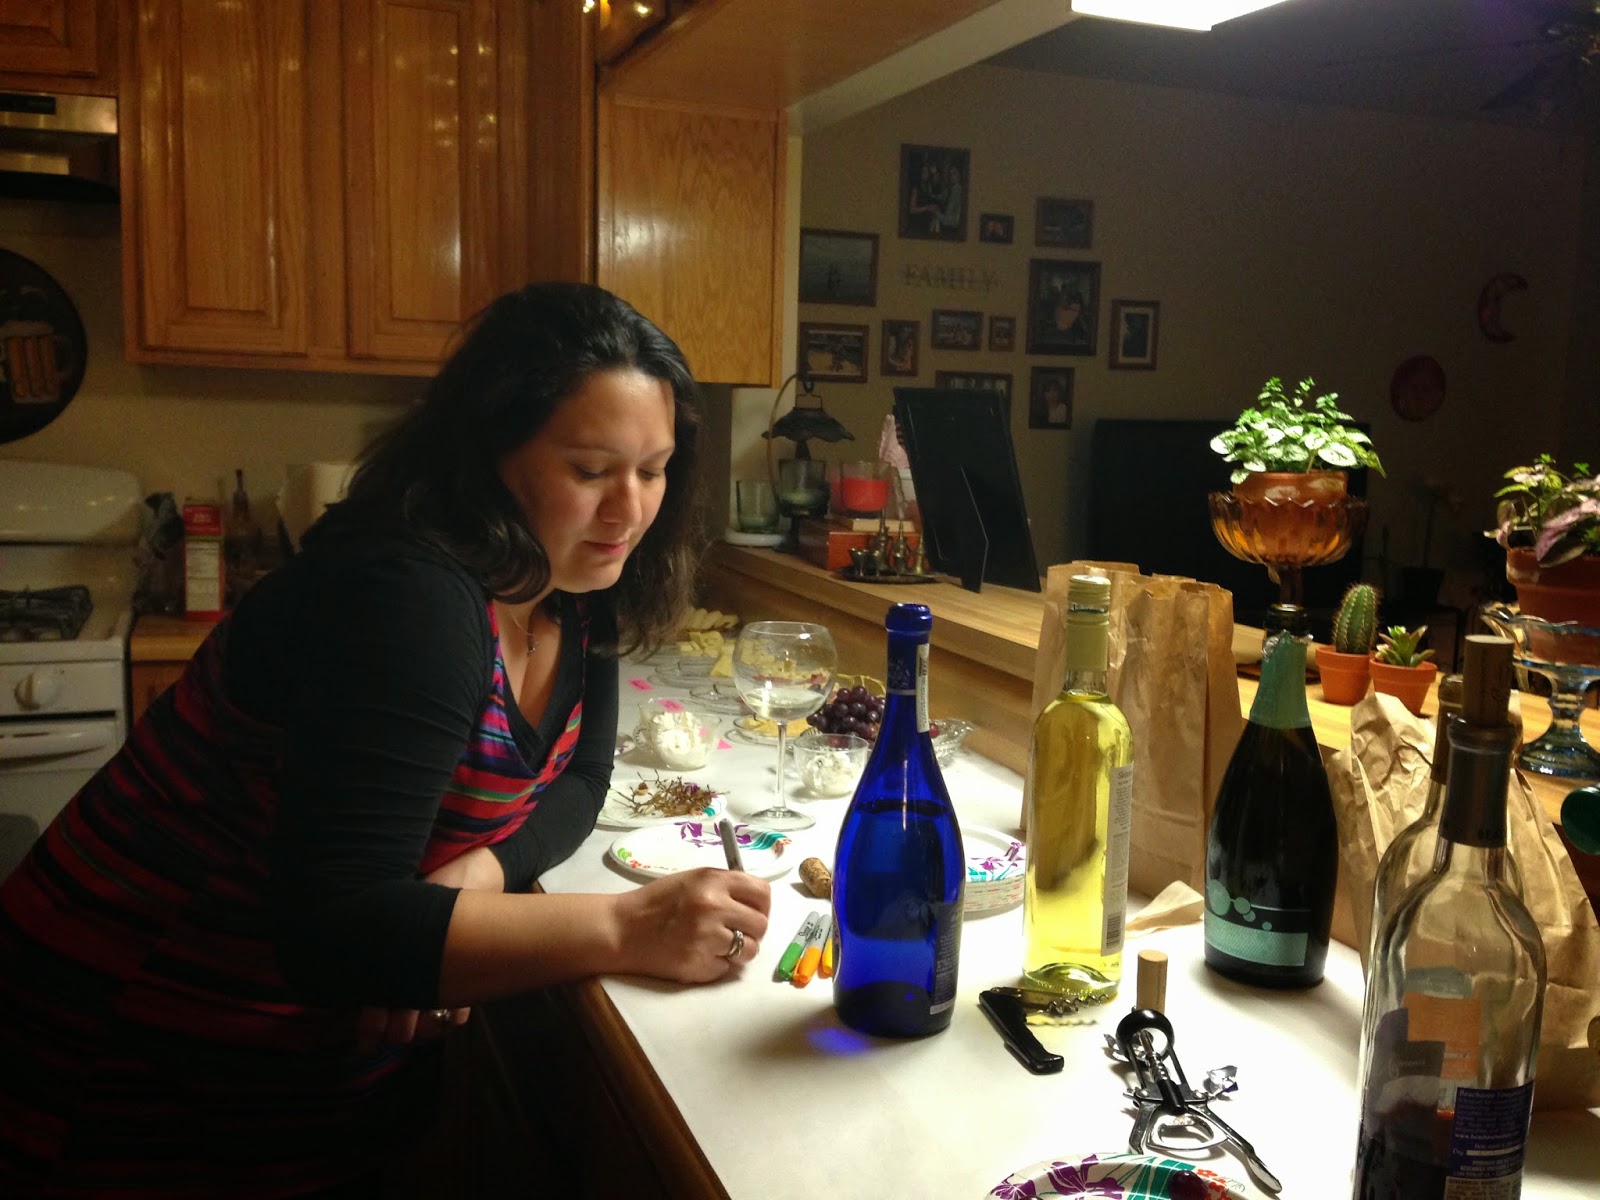
A couple weeks ago I hosted a wine tasting ladies/ goodbye party for a good friend of mine that has recently moved away due to our beloved Army. It was all very last minute, like literally planned the night before kind of thing!! And although there was no time for planning the night turned out to be amazing and definitely one to remember.  
 As invitations I created this simple yet adorable clipart picture using ABM app on my phone and sent them out via text message to each girly.
 I decorated and covered the wine bottles in brown paper bags and tied them with a little pink ribbon, you know just for cuteness!!
I covered my counter tops with freezer paper to give the refreshment bar a crisp, classy look. Not to mention It also turned out to be an awesome spill catcher and a forever memory for our friend Simone. 
The refreshment menu consisted of three different cheeses: Hot Pepper cheese, Parmentino cheese, and Fiesta pepper Jack. For the cheese labels I used a pink Post-it label roll which I absolutely love!
I also served Town house Parmesan Herb pretzel thins , cranberry scones, and of course red seedless grapes.
Chips and dip were courtesy of our bombass friend Erika. Her dip was amazing!! 
Since the party is always in the kitchen I strung lights across the ceiling as a mood setter. Can you tell they were Christmas lights?? Haha!
The night was so much fun, from the moment the girls arrived until the minute they left. We went from girl talk to dancing, trying new wines, laughing life away, singing and almost crying. 
While we were also saying goodbye to a good friend, I came up with a clever idea for a memento of the evening.
We each wrote our best wishes and goodbyes on the freezer paper. Creating a beautiful memory for Simone to have and take with her to Ft.Hood, using colorful sharpies. 
After smiles, spills, broken wine glasses and dancing to thriller and Bidi Bidi Bom Bom came the A.M. and each friend went their way. 
I had never thrown a wine tasting party or even a goodbye party until now and I have to say it was a great success for a first timer! My girls and I had a great time!!
Yall have a good one,
XO, NANCY!!! 

Friday, January 23, 2015

SERENITY'S FROZEN BIRTHDAY TEA PARTY

Hello everyone, hope everyone has had a fantastic day so far. Two weeks ago Serenity turned 5 on the eighth of January. Today I'm so excited to share some of the images from her Frozen Birthday Tea Party with you!

We had so much fun throwing Serenitys Frozen Tea Party. Staring with the decorating, which was one of my personal favorites. Since we had already thrown her a birthday party back in Dallas I had a few Frozen themed decorations left over like the birthday banner and some decorative pieces I created. This party was put together very last minute so about everything that you see in the pictures were things I already had laying around. Nothing was bought specifically for the party (besides food) haha. I kinda worked with what we had and I must say everything came out perfect!! 
 
For the table cloth I used a large piece of sparkly silver fabric that coincidentally was a perfect fit for the table. The fancy white chair covers were given to us and were recycled items from our good friends Carlos & Simone's wedding. I used light blue curling ribbon to accent and tie the chair covers and table legs. If you ask me you can never go wrong with curling ribbon!! 

One of my favorite decorative touches were the hanging snowflakes, which are kinda hard to tell in the picture above. My husband and I strung fishing line across the room and hung glittery snowflakes and icicles that by the way were bought on clearance for 75% off the original price! 
The centerpiece on the table was a blue decanter bottle dressed up with three silver branch like Christmas ornaments, that were also bought on sale. Laying under the centerpiece were lots of piled up white paper heart doilies from the Dollar tree that were left over from last years Valentines. The name cards were very simply made from white card stock cut with Paper Edgers by Fiskars. 

For the table placemats I used Frozen coloring pages for each spot. And since we had something to color I recycled two small spice jars and used them as crayon holders, adding a cute Frozen touch with stickers. As an embellishment I sprinkled colorful round confetti on the table, something in my heart says you don't have a party if you don't have confetti!!   
    
The decorations in this cabinet usually get changed out every season. So Frozen decor was a must for the occasion! Everything you see above & below are items we had laying around.
 Serenity loved how I used her toys as decorations!! Also can you see that I used Christmas ornaments left and right!?! Seriously you guys, REUSE, REUSE,REUSE. I love it. And those super cute big white snowflakes are candleholders turned bottom side up!     
From this angle you can get a better look at the glass vase holding the snowflake coffee stirrers AKA princess wands! Clever, huh?! 
Above is about the only picture I have from the breakfast bar, honestly not a big fan but oh well! I promise you this area looked a lot prettier in person. On here you can see the DIY falling snow made with fishing line and cotton balls. Which by the way had been up since way before Christmas.
How cute are these decorations I created using Frozen party favor cups and Christmas ornaments!
Silver jeweled blue velvet cupcakes. Yess I know not so cute. But Hey, they were literally baked and iced one hour before the party! Baker of the year award goes to I, haha.
There go some of those paper heart doilies from The Dollar Tree again. 
Above is a close up of little Renitys spot.
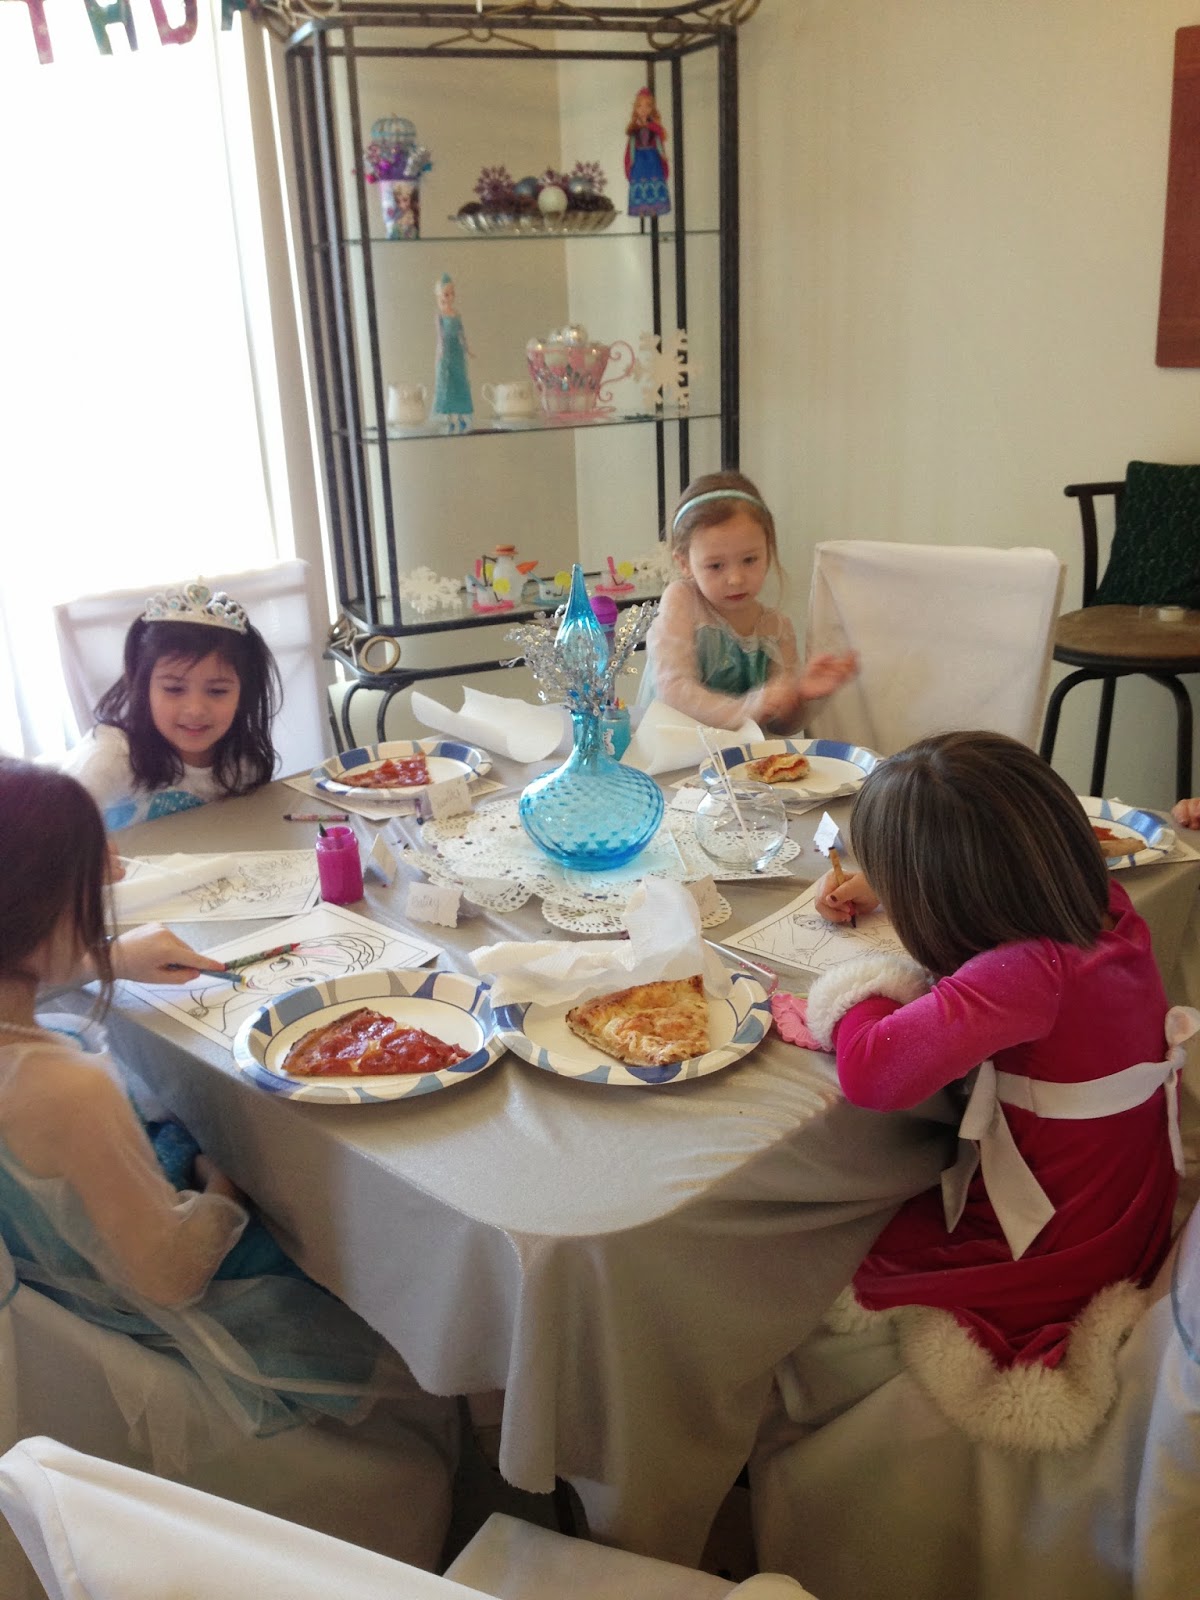
When the girls arrived we greeted them individually and guided them to their place on the table. They were so excited to see their names and their very own space, I think it really made them feel special. The first thing they did was color their placemat.  

Look at her smile, and those faces! PRICELESS. 
Pizza and coloring go hand in hand you know...
After pizza and coloring the girls all stormed out and turned Serenity's room upside down, meanwhile I set the table for the very awaited tea time! 
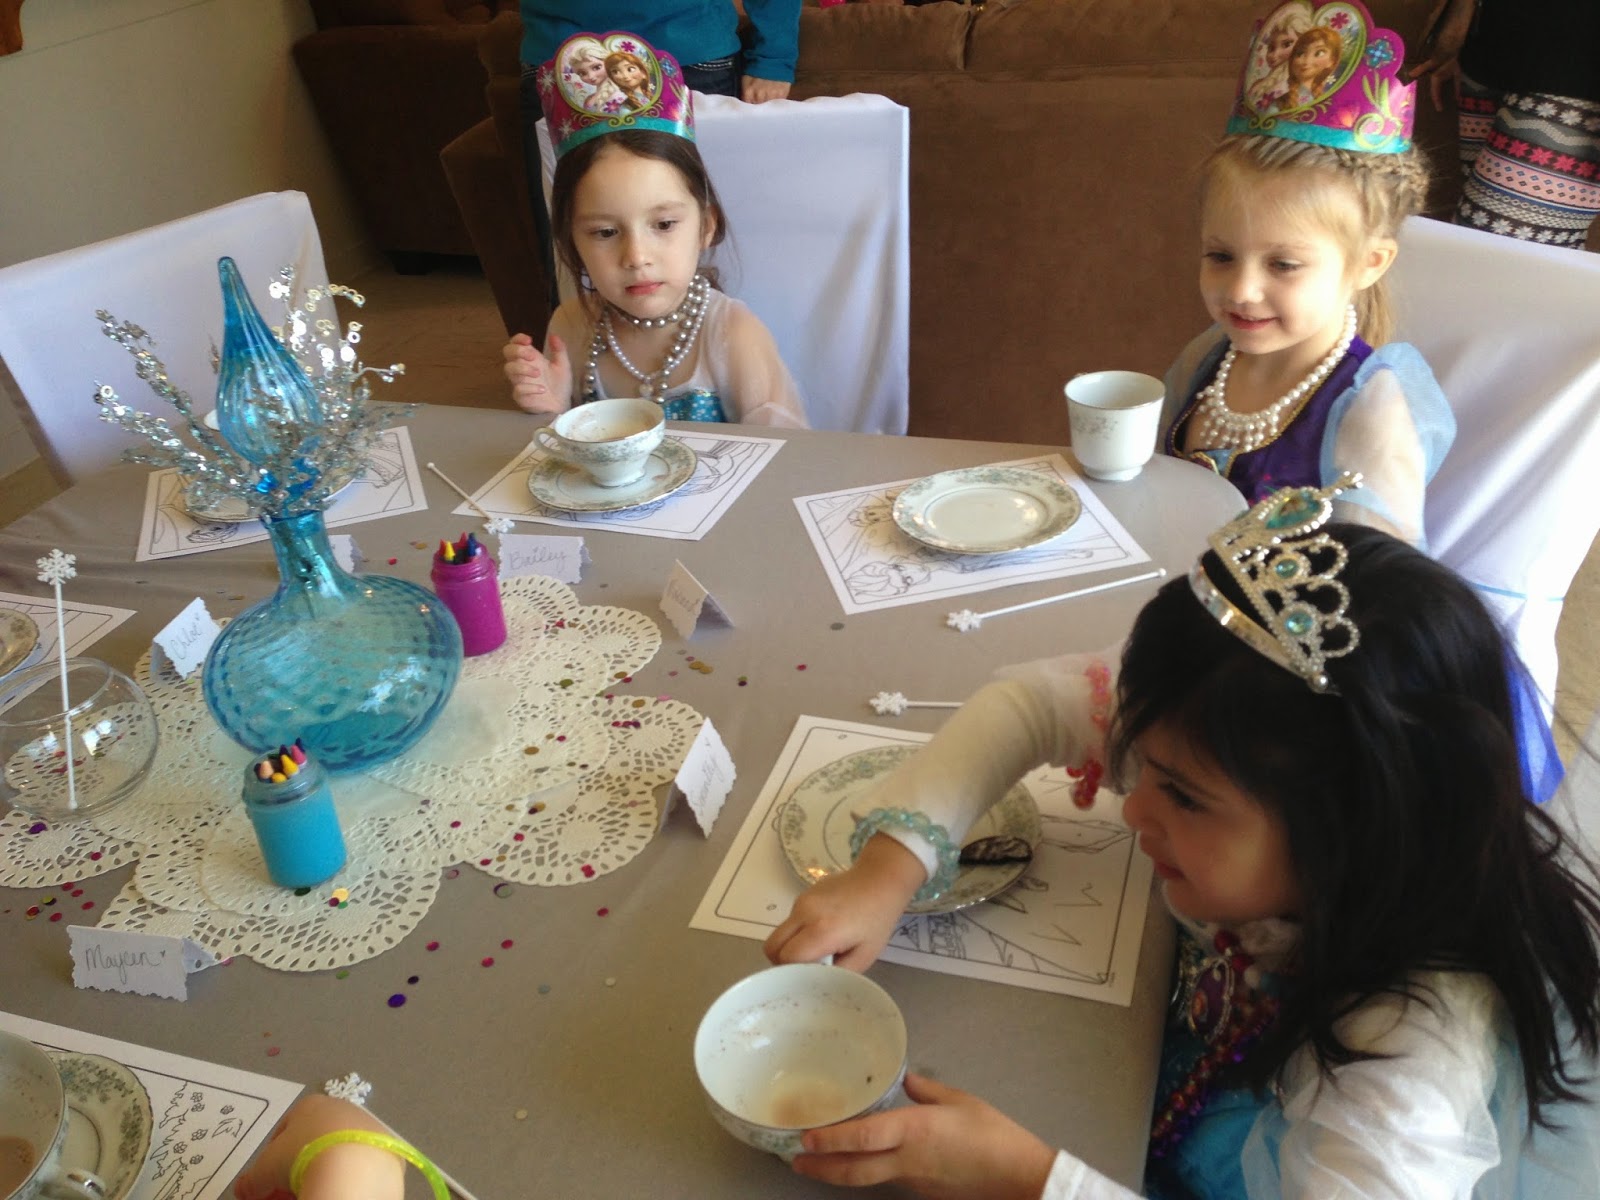
 Instead of tea I served hot chocolate and Oreo cookies. For the record this is one of my most favorite pictures ever!! Princesses couldn't possibly get any cuter than this.  
Here they go doing what every doll does at a tea party. Little girl conversations are the best. 
Coffee stirrer princess wand!!
After tea time and a few games Princess Serenity was ready to blow out her birthday candles. 
Once they sang Happy Birthday and The Birthday Princess blew her candles, everyone had a serving of cupcakes and ice cream. Following all the yummy sweetness we ended the party with Serenity opening her gifts. Soon after that, the girls left one by one with a candy bag and a big smile on their faces!


I must say that planning all of this two days before the party date was very stressful and exhausting. I'll tell you what?  I wouldn't trade this experience for the world! Just going through all these photos makes me extremely happy, the look on her face is just priceless. This party was something she came up with on her own and we made it happen. I guess in the end it was something more than just a party. It turned out to be a great childhood memory that she will cherish and look back on years to come.

Thank you guys for stopping by!
XO, Nancy!!